The Complete Guide to Creating a Content Marketing Funnel

Nadav Dakner
April 10th, 2019
Updated on May 7th, 2023

Nadav Dakner April 10th, 2019
Updated on May 7th, 2023
If you’re looking for an affordable way to market your business, building a content marketing funnel is one of the best options you need to consider.
Content marketing not only generates 3X more leads than outbound marketing, but it also costs 62% less.
Depending on the complexity of your content marketing strategy, it might or might not be easy to execute. But many businesses still fail while implementing it. This is because one of the common misconceptions they have about building a content marketing funnel is that it is all about their own blogs and nothing else.
People operate under the notion that if they manage their blog and share it on social media, they’ll see significant traffic and instantly lead to sales. But this is not the way it works.
In order to successfully get results with content marketing, you need to create a funnel which takes audience intent, the buyer’s journey, blog posts and several other types of content into account. Therefore, in this post I will show you what a content marketing funnel is, how it works and how to create one.
What is a content marketing funnel?
In marketing, your funnel represents the steps your audience goes through in order to turn from visitors to customers. More specifically, a content marketing funnel is a funnel that helps convert traffic to customers through different types of content.
These assets might include blog posts, ebooks, white papers, newsletters, webinars, podcast episodes, infographics and more. Different types of content are used in the different stages of the funnel. Each of them plays a role in attracting audience members, nurturing leads and generating customers.
We call it a funnel because of its tapering shape. Just like a funnel tapers as you go lower, the number of people in your content marketing funnel will become smaller and smaller, as fewer people advance towards purchase. First you will, hopefully, drive a lot of traffic. A small percentage of this traffic, usually about 1.95%, will then turn into leads, and a smaller number of your leads will convert to customers.
Why is it better to use a content marketing funnel?
One of the biggest benefits of a content marketing funnel is that it creates a system you can track. When you create a funnel for the first time, you will not create your best version. But over time you can use the data you collect from your funnel and optimize it to boost your conversion rate.
You will know which of your blog posts drive the most traffic, which lead magnets are driving the most conversions, at what stage of the funnel most people are turning into customers and so much more.
You will gain a lot of insights on how the different components of the funnel are working individually and holistically. You can then use the data to tweak your funnel and generate more sales with a smaller effort.
Another important benefit is that a funnel will catalyse the number of pieces of content your visitor sees.
A study by Forrester found that on average a person consumes 11.4 pieces of content before they make a purchase. Now, if you are just using blog posts to market your business, getting people to see those 11 or more blog posts will take a while. But if you automate the process, nurturing prospects by offering them links to relevant blog posts, ebooks and more direct selling content like case studies and webinars, you can speed up the process and get visitors to consume more content quickly. This will result in people buying your products faster.
What are the components of a content marketing funnel
There are three main phases of a content marketing funnel…
Top of the funnel (ToFu)
Content in this part include blog posts, social media updates promoting the posts, video content and infographics.
The job of these content assets is to generate awareness by getting people to visit your website from social media and search engines.
Middle of the funnel (MoFu)
White papers, ebooks, courses and newsletters often make up the second part of the funnel. Their main job is to convert the traffic you generate into leads and to build trust with those leads.
In this part of the funnel, content like ebooks and white papers are given away as lead magnets to people who visit your website from the blog posts and other forms of content. They sign up (as leads) in exchange for free content.
You can further nurture these leads through email marketing. These emails will help convert some of your leads to sales.
Bottom of the funnel (BoFu)
The third part of the funnel is where you finally convert leads to customers. This is the hardest part of the funnel, as instead of prompting people to consume free content, you need to get the leads to pay for your products or services.
Here you will use email along with other types of content like case studies, webinars and posts that address the specifications of your products to close sales.
These are the three main components of a content marketing funnel. Some companies will have a fourth component where they get users to buy more products or to upgrade their subscription plan (as in the case of a SaaS business). For this fourth phase, marketers simply use a combination of the aforementioned list of asset types.
This sort of extra nurturing can also result in customers becoming brand ambassadors. They will help you generate more customers both online and offline.
If you’re wondering how to create each of these funnel components and how to put them together to generate customers, make sure to read on.
How to set up a content marketing funnel
Now let’s start creating the different components of the content marketing funnel and begin assembling them together.
In the above section, I mentioned that the first component of the funnel is known as the top of the funnel. But I will start by showing you how to set up the middle and bottom of the funnel and then show you how to set up the top.
This is because before you begin sending traffic using the top part you need to make sure your middle and bottom are properly set up to convert the traffic. Otherwise all the traffic you send at the beginning will just go to waste.
But before you begin creating any type of content for your funnel there is one thing you must do. This is figure out who you are writing for. Your content marketing will bring in the best results if you write for a specific audience. This is why you should conduct ample research and come up with a persona or personas of your target audience.
You can then create content to reach them.
Researching and creating a persona
You should start this research by creating a simple survey using a tool like SurveyMonkey.
In Here you can ask questions that will help you create better content that your audience will want to read. Find out what their biggest problems are, how they discover new content to read, the blogs they are currently reading, etc.
Then promote this survey by sharing it on social media, by using ads that target your demographic and by sharing it with your list of subscribers.
You should also create a popup survey using a tool like Hotjar. This is where a popup will appear on your site and ask short multichoice questions. This will help you collect answers directly from your website.
Once you obtain the data from the survey, you can create an empathy map. This will help you understand the emotions your audience goes through every day.
If you create an accurate empathy map you will be able to create content that connects with your audience on an emotional level. You can learn how to create this map by watching the below video.
After you create an empathy map, you can use the data from here and from your survey to create your persona. There are persona templates like this one from Digital Marketer that can help simplify this process.
After you follow the above steps, you will end up with a persona or a bunch of them.
Now every content you create should be catered to suit the needs of this persona. Always keep them in mind. The tips you share in your content should ease their pains.
If you create content your audience (persona) wants, you will drive traffic, generate more lead and convert more of those leads to sales.
If you would like to go a step further and gather more information for your research, I recommend that you audit the content of your competitors. Just type in their URLs into a web analytics tool like SimilarWeb.

It will show you the keywords your competitors are ranking for, the countries from which they get the most visits, their top traffic sources and more. This data will help you build upon the persona.
Creating the middle of the funnel
Now that you have data from your target audience and your competitors you can begin creating the middle of the funnel content. As mentioned earlier, there are so many types of content you can use for this part of the funnel.
Two of the most common types of content people use here are ebooks and email. They are also relatively easy to create and set up.
For the ebook, you’ll need four things. These are the ebook itself, the landing page on which the ebook is gated, the thank you page people are redirected to after they sign up and the email delivering the ebook.
You can also create extra optin forms like popups that appear all over your website to promote the ebook.
You have two options when you create the ebook. One is to create a complete guide on a topic your audience will want to read a lot. This guide needs to contain every bit of information on the topic.
One great example is this ebook from HubSpot on How to Use Instagram for Business.

This is a highly detailed resource that covers everything from how to get followers, to deciding on when to post, to using hashtags and a lot of other advanced tactics like tracking your analytics.
When you have a comprehensive ebook like this that covers everything, you can create content like blog posts that cover more limited aspects of the same topic and then convert the traffic they generate to leads with the ebook. You basically build your blog posts around this ebook.
Another option is to create lead magnets that cover much smaller topics that are relevant to a few blog posts. Like this pack of 25 Instagram templates for Business from HubSpot.
HubSpot creates all these lead magnets about Instagram marketing because they have done their research. The company’s flagship product is its inbound marketing software platform.
And one of its features is that it lets you schedule to social media like Instagram, Facebook and Twitter. From their audience research, they know that people who want this tool will be interested in learning as much as they can about Instagram. This is because Instagram is known to drive the highest engagement among the big social networks.
Conducting this research and creating ebooks and other lead magnets their audience wants will ensure that they drive a high number of conversions.
After you create the lead magnet, you should set up a landing page to promote it. On this page, you’ll briefly describe the contents of the ebook, without giving away too much information. You also want to include an opt-in form, and you only send the ebook after they sign up.
The two aforementioned ebooks from HubSpot have excellent landing pages. But they don’t always have to be that long, with opt-in forms asking for several details.
It can also be like this simpler landing page from Flywheel on generating recurring revenue.
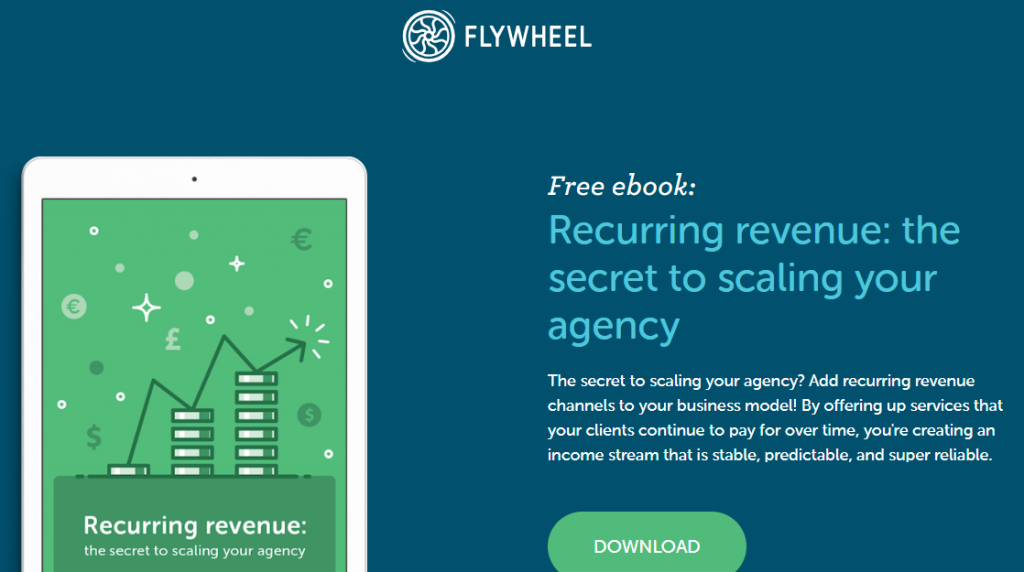
This one contains less copy and just asks for one piece of your contact details, your email address.
Along with setting up the landing page, you should also set up other types of opt-in forms like popups, sliders, header forms, header bars, end of post opt-in forms, etc. These will help you directly convert traffic that visits the other parts of your website. You won’t need to try and direct all your traffic to landing pages.
There are tools like OptinMonster and Sumo that make it easy to set up these forms.
The thank you page or the confirmation page is the page that your leads are redirected to after they sign up for your lead magnet.
It serves three purposes. One is that it assures the reader that they have signed up. The second is that it can help you track the conversion rate of all the content on your website with Google Analytics. The third benefit is that it offers extra real estate for you to promote your products or content in the bottom of the funnel.
So, create a thank you page that thanks the reader for signing up and then promote another piece of content on it like this page from Aweber.
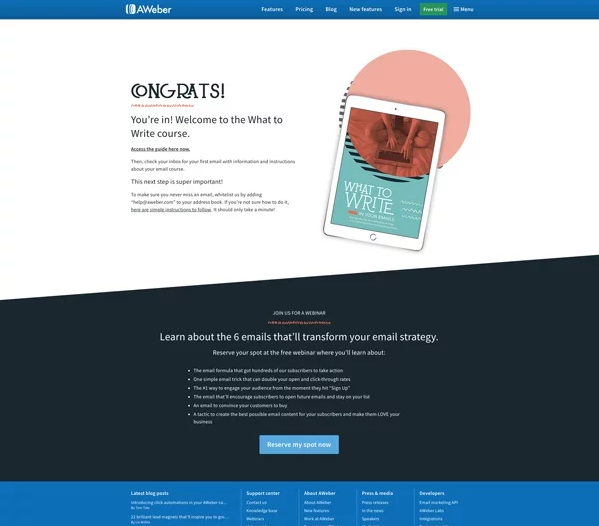
As you can see, it promotes a webinar.
Instead of promoting another piece of content, you can directly begin promoting your products here, like Digital Marketer does below.

This affordable offer is known as a tripwire, and it helps you quickly convert a lead to a sale.
Not everyone who signs up for your lead magnet needs to be nurtured with email and then pitched. The traffic your website receives will be of three kinds. These are hot, warm and cold.
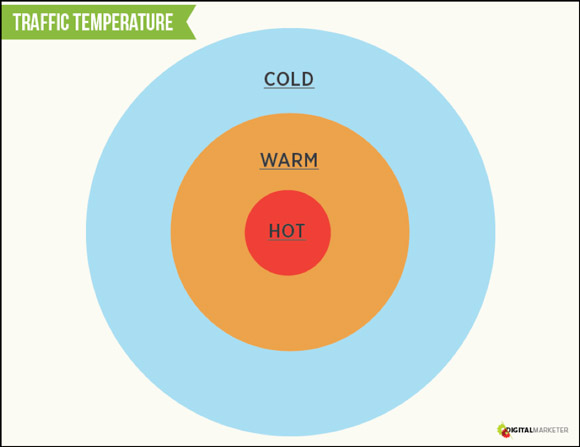
The hot traffic consists of people who are ready to buy your product. When you let them know that you have a product they need some of them will immediately purchase it.
The warm and cold traffic need to be nurtured more before they make a purchase. These are the leads to which you need to continue sending more of your content in the form of email, webinars, case studies, etc. and eventually convert them to customers.
So, experiment by sending your leads to thank you pages that are indirect (promoting content like webinars) and direct (promoting products) to check which drives the highest conversion.
After you set up the thank you page, you should set up goals in your Google Analytics account, as this will help you track the conversion rate of your ebook landing page. It will also help track the conversion rate of other pages on your website, in case someone signs up through the popup or another opt-in form.
Now it’s time to build out a drip email sequence. In the first email you send out to your leads you, will deliver the lead magnet they signed up for. But don’t just send a simple email that only shares the lead magnet. Include some extra tips that aren’t covered in the ebook. Also promote a product relevant to the topic. This will help convert some more of the hot traffic into customers.
Continue sending emails like these, which contain more content, for the first week at least. Dan Zarrella found that email open rate is at its highest in these first few days.
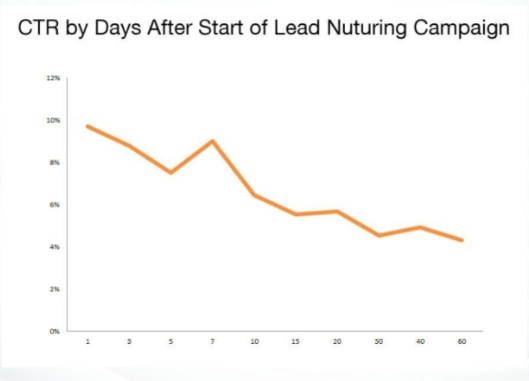
After that, it dwindles. I recommend that you write one long piece of content and then cut it down into about five emails. Then schedule them to go out for five days after a lead signs up. The cohesiveness of the email content will maximize the chances that more people will read all of your emails to get all the tips.
The first four emails can focus on nurturing the lead with a lot of free content, while the last one can be a sales email that educates and promotes a product at the same time.
But don’t stop sending emails after that. Chris Davis, the former Head of Marketing Automation at Leadpages, found that 50% of their customers convert from stranger to customer in the first four weeks.
And 75% of their customers come in the first three months. This is why you should keep in touch with your customers via email for months. You can learn all about how Leadpages does this by watching the below video.
I recommend that after the first email sequence ends, you create a new sequence of emails that goes out once or twice a week for a few months.
Make sure you track all activity in the email like link clicks, opens, replies, page visits, conversions, etc. This will help you segment your list better. You will know which leads prefer which content. This way you can only send relevant content and keep conversions high and unsubscriptions low.
This is how you set up the middle of the funnel. This part of the funnel will usually convert some of the hot and warm traffic. Many of your leads will still sit on the fence, unsure whether they should purchase from you. This is where the bottom of the funnel comes in. It will help convert more of the hot and warm traffic and some of the cold traffic to customers.
Creating the bottom of the funnel
Leads who end up in the bottom of the funnel are people who are interested in your product, but are trying to decide if you are worth the investment. They just require that extra push with a little more focused content. If you followed my above and segmented your list by their interests, you will know what type of content they will be interested in and when.
Three common types of content that are used in the bottom of the funnel are case studies, webinars and product comparison posts. You can learn what they are and how to create them below.
Case studies show your leads the journey your current or former customers went through before and after they used your products or hired you. Here, you can detail the problems your customers faced before they used your product and how things changed for the good after buying it.
Good case studies include proper numbers like this one from Unbounce, a landing page platform. Here they show how a client, Indochino, got 800+ showroom bookings, sold 40 suits, got 750+ newsletter sign ups within nine months by using Unbounce’s landing page software.
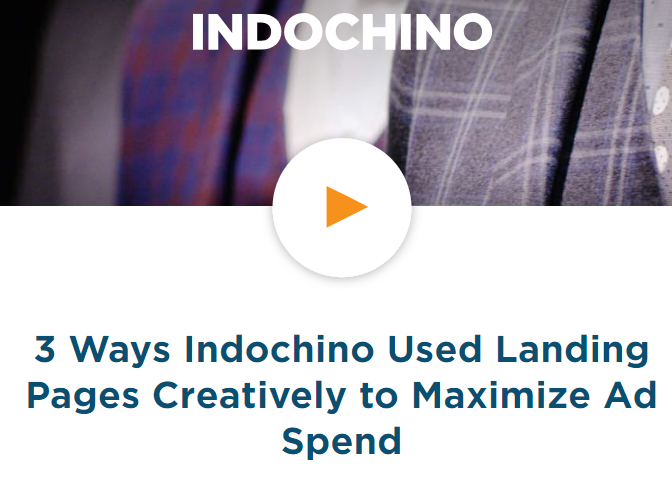
They also included a video interview and a quote from Indochino’s Director of Acquisition, Lisa Craveiro, in the copy itself, for extra credibility.
Unbounce has several case studies like these on their website. If a lead isn’t converting because they aren’t certain if the software is good enough, all Unbounce has to do is email them links to a few of these case studies and boost their “social proof.”
They place a call to action at the bottom of the case study to get people to take action immediately.
Sometimes a case study will not be sufficient, and you will need something more actionable to convert. This is when you can use webinars. People love to attend them, as they are usually live events. Here, you can nurture leads with useful content and demo your product.
Lots of businesses find great success with webinars. Mention, for example, was able to convert 53 percent of the people they sent to their webinar landing page into registrants. And during the live webinar they generated $10,000 in sales within just two hours.
Many of the leads who want to purchase your product will conduct their own research online to see what your competitors offer. They will want to know if they have better features, more affordable pricing, reviews, etc. To convince them that your product is better than your competitors’, you should create “Vs pages,” where you compare features offered by your product against your competitors. In the end, your product has to be the winner.
An example is this Intercom Vs Drift page. Both companies offer live chat, so Intercom created a Vs page, where they show you why Intercom is better than Drift.
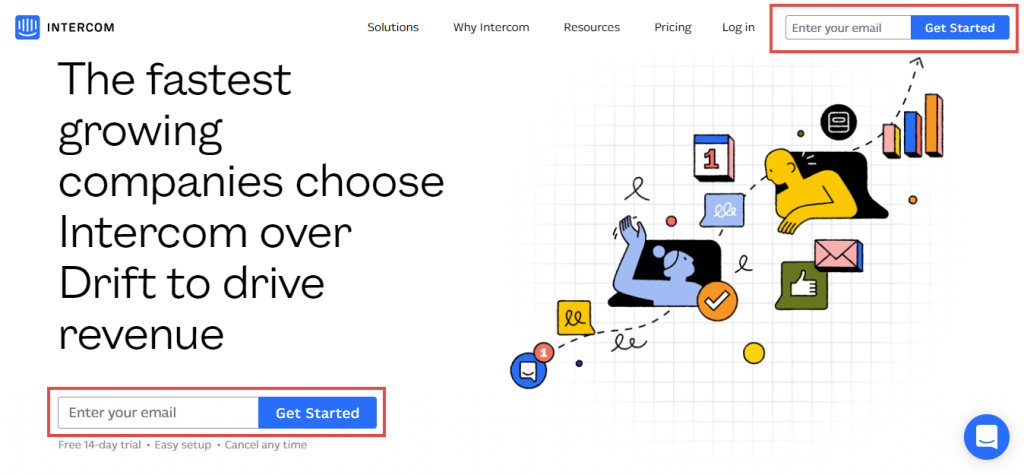
They also have signup forms spread all over the page designed to get you to take action.
Here’s another good Vs page, where OptinMonster pits itself against Sumo to show that they are the better one. They include several screenshots and a table to illustrate the point.
This page has a call to action at the bottom that asks visitors to get the software.
If you get this page right, you can convert a lot of customers, as the people who consume the content on a page like this are likely to have their wallets out, ready to buy. They just want to know who is better before they make the purchase.
If you create these three types of content and present them at the right time to your leads, you will generate a maximum number of customers.
Now that you know how to set up the middle and the bottom of the funnel, I am going to show you how to set up the top so that you can begin generating traffic that can be converted to leads.
Creating the top of the funnel
The main job of the content in this part of the funnel is to generate traffic that will be interested in signing up for the lead magnet.
You can create various types of content to drive traffic. The simplest and most popular one is the blog post. So, I am going to show you how to create a blog post that will drive traffic from social media and search engines and how you can optimize it to convert traffic.
The first thing you must do is think about your audience persona as you are writing it for them. Then think about the lead magnet you created and brainstorm topics relevant to the lead magnet that your audience will want to read.
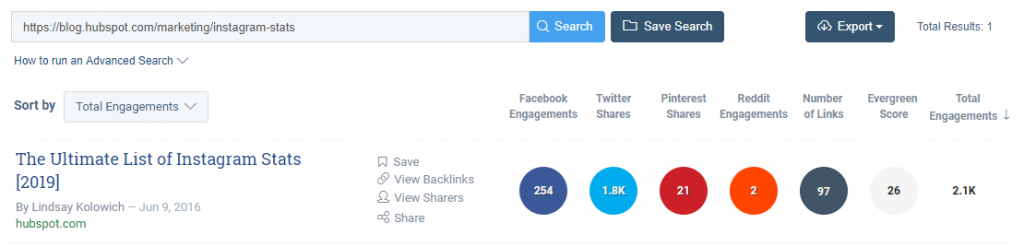
An example of a well thought out blog post is this one on the “The Ultimate List of Instagram Stats” from HubSpot.
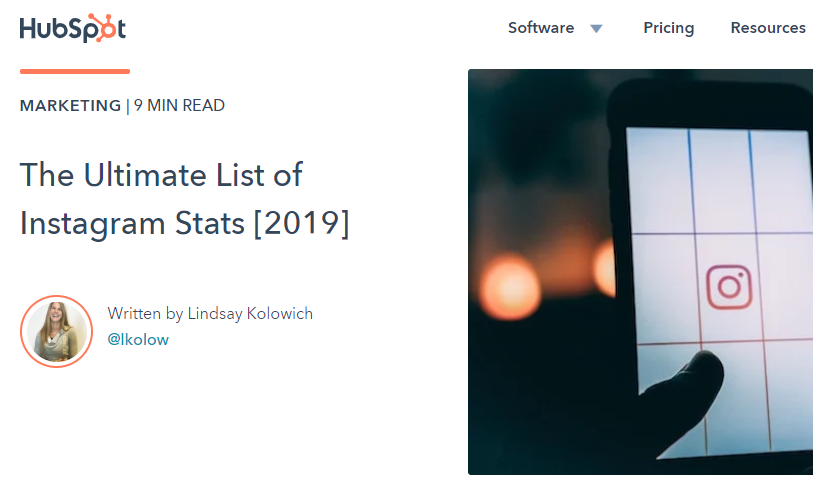
They likely created this content because they know that their audience, which is primarily composed of business owners and agencies, will be interested in this topic. As they will want to use the data to create a better Instagram strategy.
They probably also conducted some SEO research using a tool like SEMRush or Ahrefs to find that the term “Instagram stats” has a high search volume of 4,400. When I Google “Instagram stats,” this post appears on the first page.
They might have also done some social research to figure out if this post would do well on social, as according to Buzzsumo, this post was shared over 2,100 times.
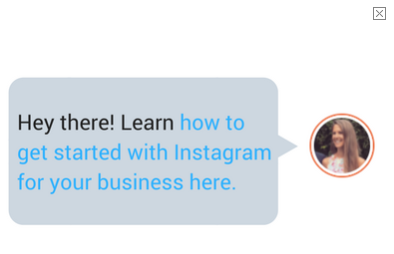
They also optimized the post by placing calls-to-action like the slider on the bottom right…
And the call-to-action at the bottom of the post…
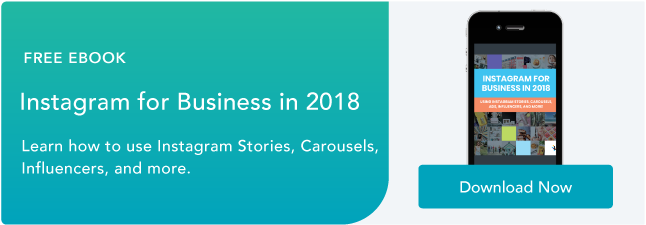
These two calls-to-action promote the aforementioned lead magnet ebook on How to Use Instagram for Business.
People will visit the post on Instagram stats from search engines and social media. When they read it they will learn some interesting stats, but they won’t be completely sure on how to put it together to create a better strategy. So, when they see the ad for the lead magnet which offers a more holistic view they will sign up for it and become a lead and from there on the middle and the bottom of the funnel will do their job.
An important point you should make note of is that you won’t be able to automatically drive traffic to blog posts, even if you conduct impeccable SEO and social research. Along with the research you need to write a highly optimized post and promote it to get shares and backlinks.
Some quick tips to ensure your post performs well
Backlinko found that the average length of a post on that appears on the first page of Google is 1,890 words.
Posts that are between 1,000 and 2,000 words also get the most shares.
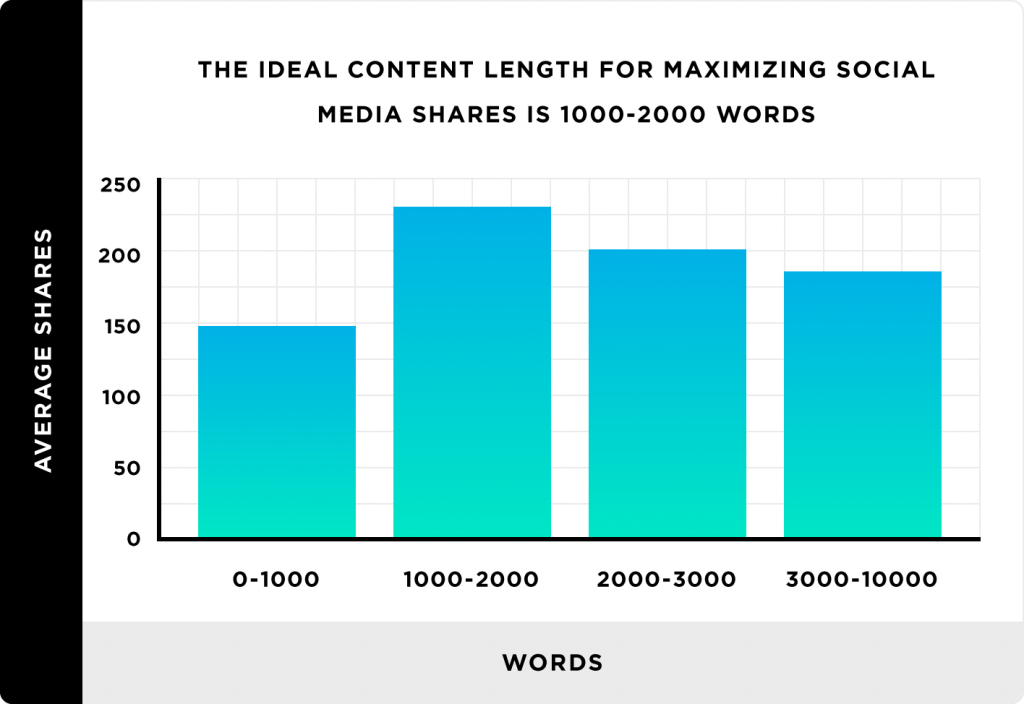
This is why if you write more longer posts you will drive more traffic from both social media and search engines.
Make sure you optimize your posts for sharing too. Pages with share buttons get nearly seven times more shares than those without.
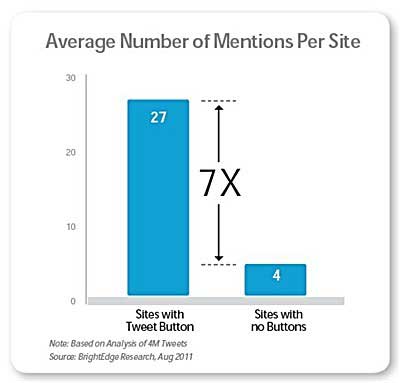
So, turn on the share buttons on your blog posts to make it easy to share.
And don’t neglect content promotion. Your posts won’t automatically start generating shares and links just because you created them. They need that initial push that will help generate the shares and backlinks. This is why you should spend ample amount of time conducting outreach and promoting your content. This will get you all the shares and backlinks you are looking for.
Some of the top content marketers like Derek Halpern take content promoting so seriously that they spend more time promoting than writing it.
Follow these steps and you will create blog posts that drive relevant traffic that converts into leads and customers.
To sum up
These are all the steps you need to follow while creating a content marketing funnel. You start off by creating the content for the middle and top of the funnel as they are essential for lead generation. These include content like ebooks, white papers, emails, case studies and webinars.
After that is done and you have a stellar content marketing funnel that converts, you can move on to the traffic generation part by creating the top. This include content like blog posts, videos and infographics. You need to create and promote them.
After the funnel is set up and it begins generating traffic and leads, you can use your analytics to determine how well it is functioning. Over time, as you gather data, you can make tiny modifications and improve the effectiveness of the funnel.


